Showing posts with label Tutorial. Show all posts

Wednesday, 26 January 2011

Scarebug Tutorial

This for all the urban gardeners out there... a window box size scarecrow, we’ll call him “Scarebug”.


You’ll need:
2 pieces of wood (I used pencils)
1 ping pong ball (easy to find in a pound shop or any sports shop)
A push pin
Clothes – either make your own or nick a Ken dolls
Black permanent marker
Stanley knife or scissors

  • Bind your pieces of wood into a cross to make a body and arms

  • Cut the top off your ping pong ball then draw a face onto the ball using the permanent marker


  • Attach the ping pong ball to the scarebug body. I used a push pin. We’ll be filling the head with dirt later so don’t make any big holes!


  • Dress for success! You can make a shirt out of scrap material or just ‘borrow’ one from a doll.  You could go one step further and stuff him with dried grass if you want an authentic scare! He can’t bend his arms, so you may want to sew his shirt on.

  • Stuff your scarebugs head with dirt and sprinkle seeds on his head. Cress is ideal, otherwise try any seed you can get your hands on.  Lightly cover the seeds with soil & sprinkle with water.

  • Pop him in your window box & watch his hair grow! (Please do not try this on your Dad or Husband, he won’t think its funny and it won’t make his hair grow!)

Here is my scarebug...he is waiting for his hair to grow!  Let me know if you make a scarebug & how he looks sitting in your mini garden.

Feel free to share this tutorial but please link back to my blog!.

Tune in next week when we'll be making something lovely for Valentines Day

Love,  FunkyCinderella

xxx


Sunday, 9 January 2011

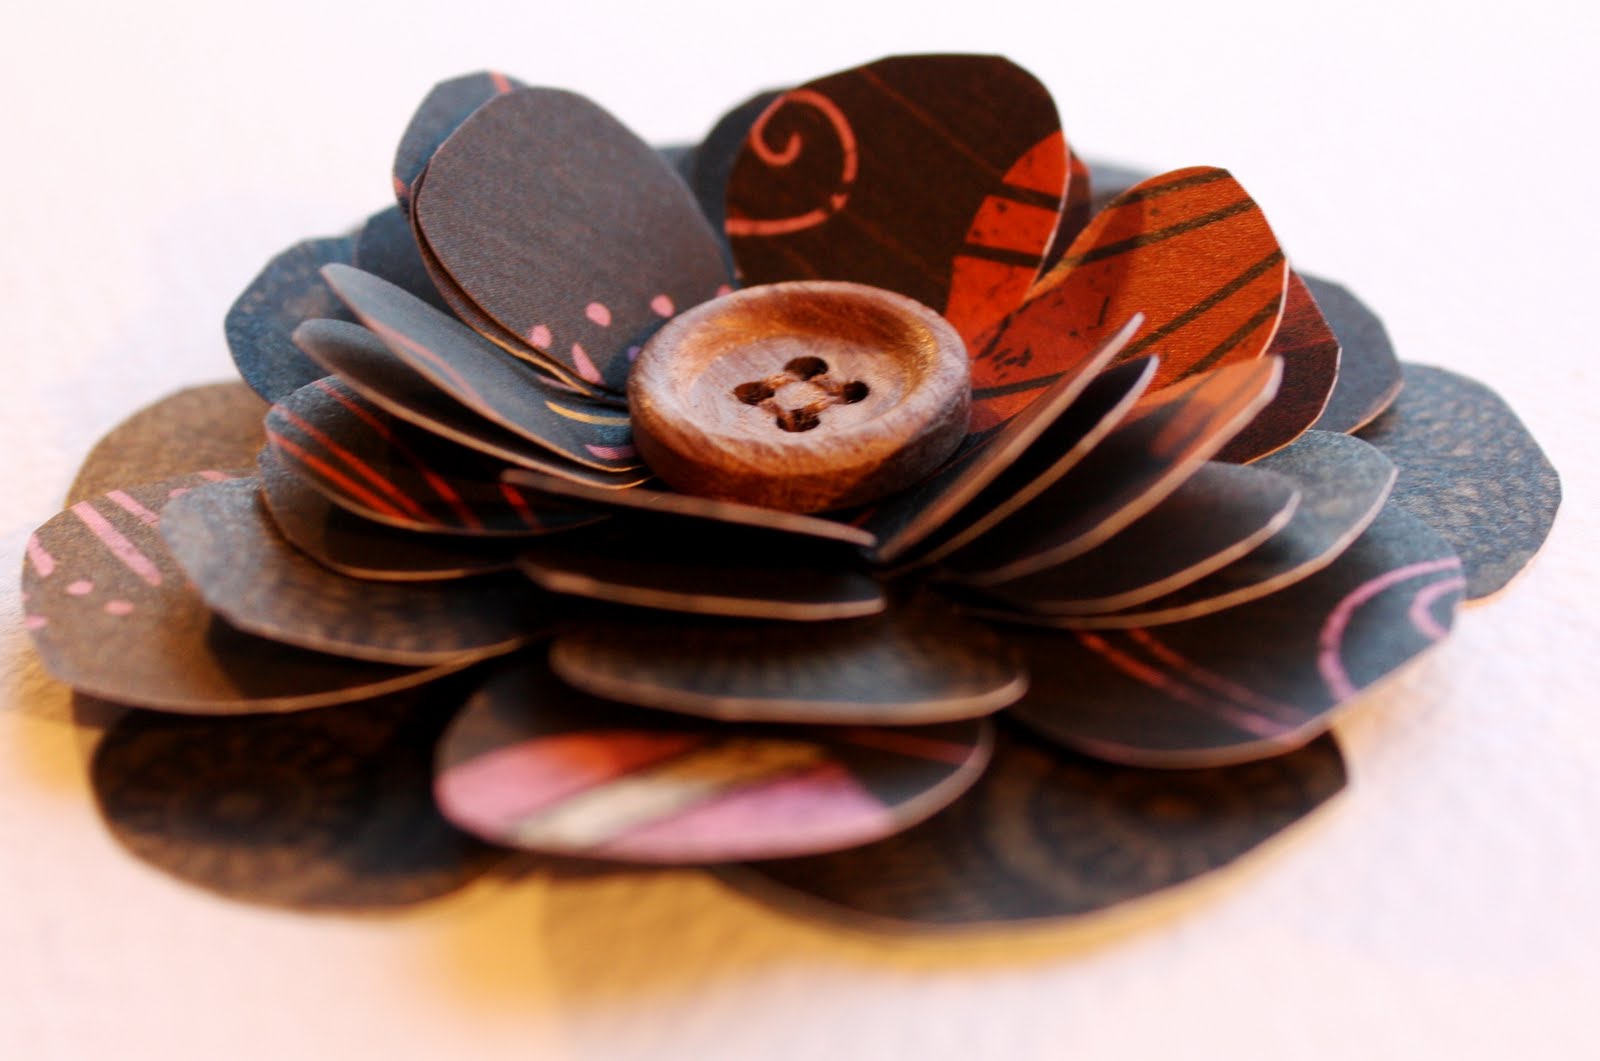
Fabric Flowers


These would make great fabric flowers for any occasion or paper flowers to pretty-up your cards and notebooks.


You’ll need:
Fabric, felt or even thick paper works well.
Scissors
Needle & thread
Button
Badge pin
Fray stop (optional)


This is a mish mash of various fabric flower tutorials I have tried over the years. I use a combination of 1 extra large, 1 large, 1 medium and 4 small flower pieces to make my flowers & there’s a little trick at the end to make them nice and ‘fluffy’. If you want more body in your flowers, just add more petals of the extra large to medium variety! Feel free to play about to find your perfect end result.

To make the petals:

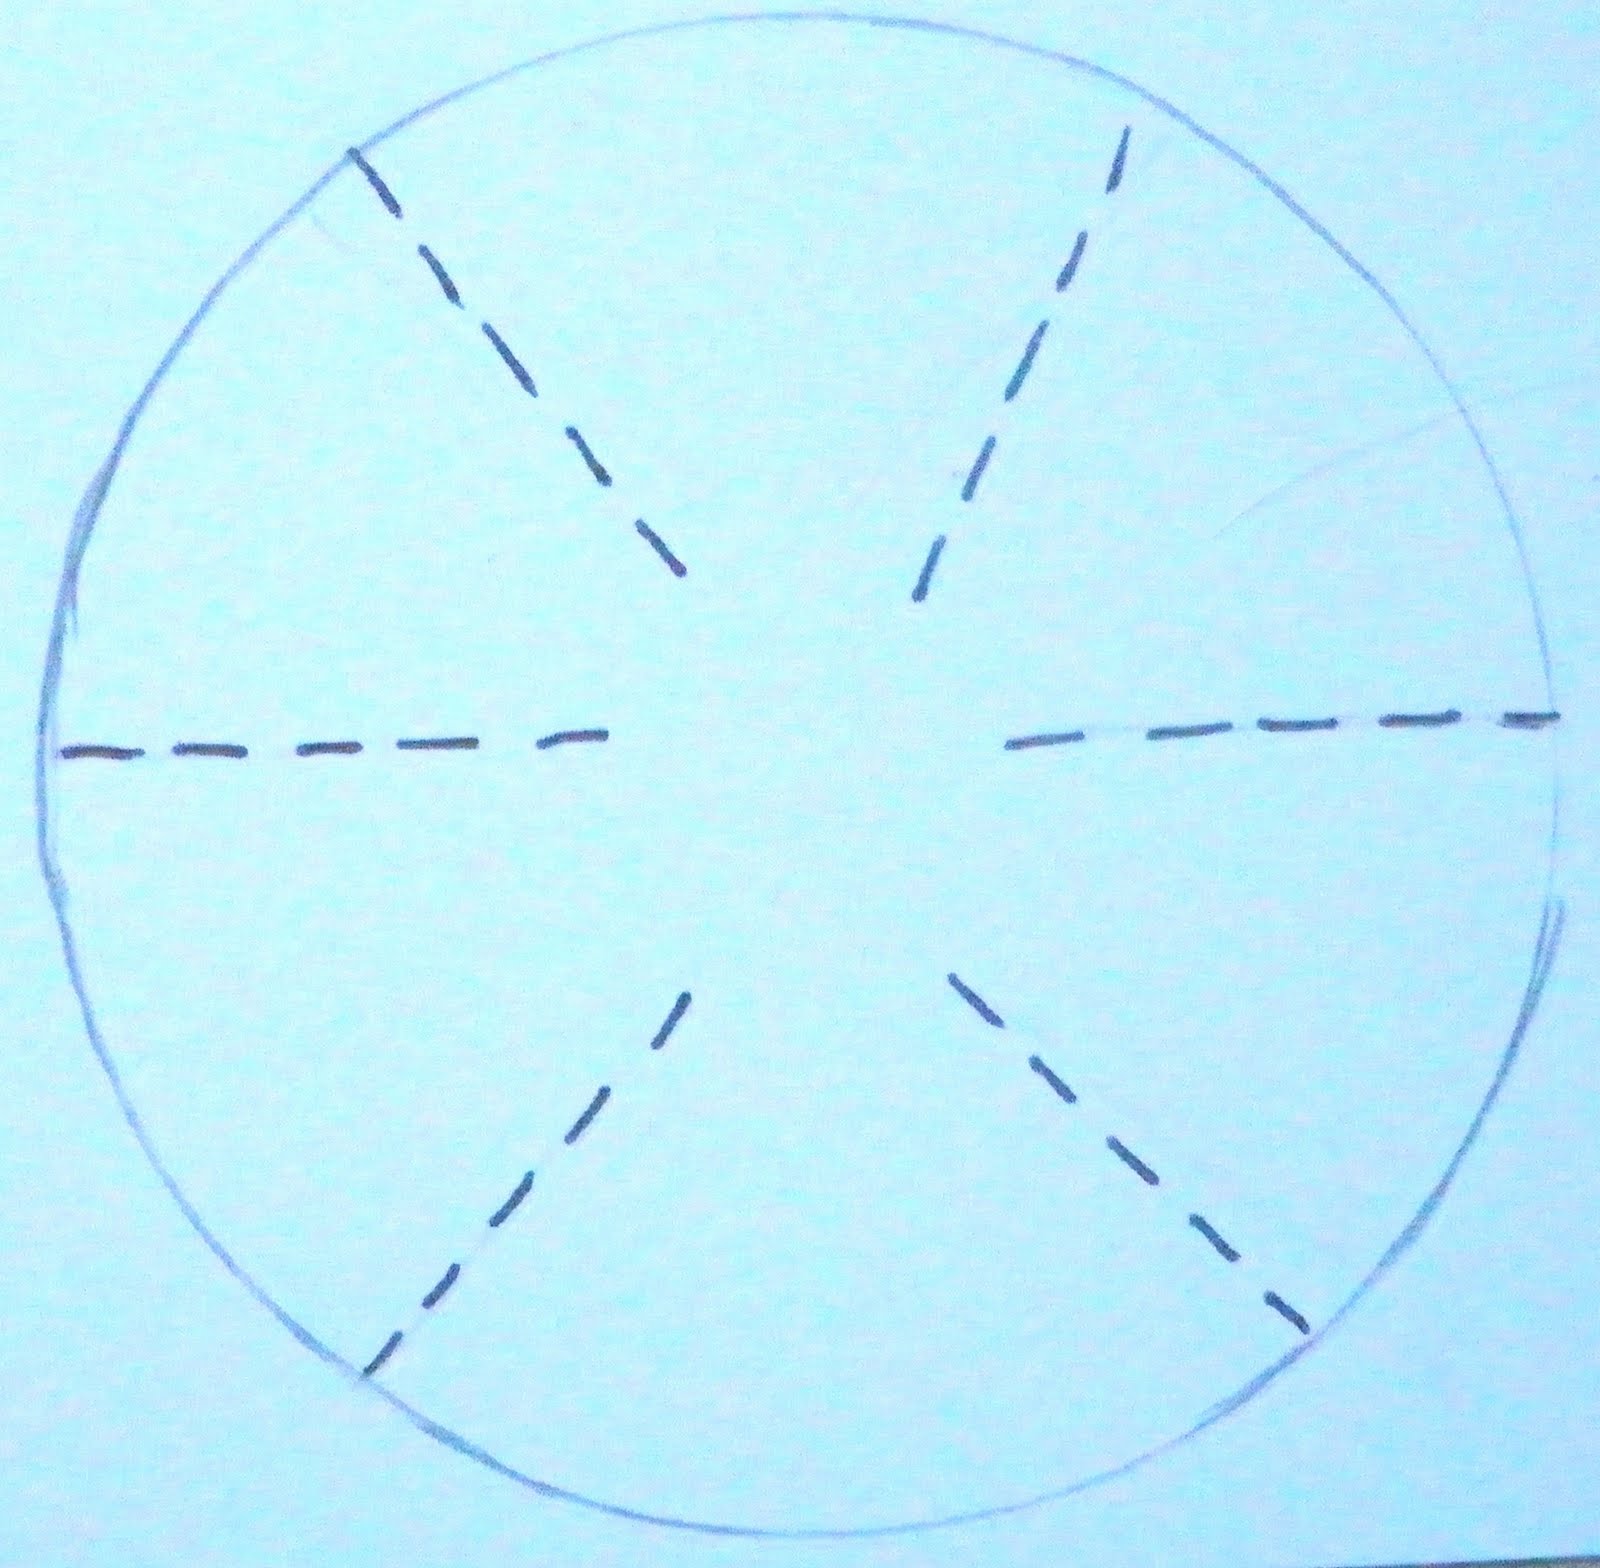
Cut fabric circles. I use cookie cutters to trace the round shape but you could use objects around the house such as plastic cups. Remember, you need to end up with one extra large, one large, one medium and 4 small pieces. Trace around and cut out your circles. Using the below diagram, cut along the dotted lines to make your circles into petals.


Depending on your fabric, you may wish to use ‘fray stop’ on the edges. This will (obviously) stop it fraying. For a shabbier look, leave the fabric to fray.

Now, starting with the large flowers, layer them on top of one another like so (if these are paper petals, you may wish to add a dab of glue to secure as you go along):


Next, fold all small flowers in half, layering and overlapping them like this (I've used plain colored half circles in this picture to make it easier for you to see the overlap):


Using your needle and thread, secure the petals together. Then add your button.

If this is a fabric flower, after a couple of threads thru the button, secure the brooch back onto the back of the flower with the same thread. Fluff it up a bit to give it some depth.


If you'd like, you could snip a little triangle in the end of each petal for a different look.

...and there you go! Have fun making these, experiment with different textures & fabrics (lace works well too) & let me know how you get on!

Love,

FunkyCinderella
xxx